How to add subtitles to youtube videos: A quick, practical guide
There are pretty much three ways to get subtitles onto your YouTube videos: you can clean up YouTube's automatic captions, upload a professionally made SRT file, or just type them out yourself right in YouTube Studio. Each route offers a different mix of speed, accuracy, and control, so you can pick whatever works best for your workflow.
Why Subtitles Are Your Secret Growth Weapon

Let's be real—most creators treat subtitles as an afterthought. It's just a box you check for accessibility, right? But what if I told you they were one of the most underrated tools for blowing up your channel? Captions have a direct impact on the metrics YouTube’s algorithm is obsessed with, like watch time and audience retention.
Think about how people actually watch videos now. They’re scrolling on a loud bus, in a quiet office, or during a quick work break. In almost every one of those cases, the sound is off. No subtitles means your message is completely lost. They'll just swipe on by.
Choosing Your Subtitle Method
Before we dive into the "how," let's quickly break down the options. This will help you decide which path makes the most sense for you, whether you're just starting out or managing a huge channel.
| Method | Best For | Speed | Accuracy |
|---|---|---|---|
| YouTube Auto-Captions | Quick edits on simple videos or when you're in a hurry. | Fast | Low to Medium |
| Upload SRT/Transcript File | Creators who want maximum accuracy and SEO benefits. | Medium | High |
| Type Manually in Studio | Short videos where precise timing is everything. | Slow | High |
Ultimately, using an SRT file is the gold standard for quality and performance, but cleaning up auto-captions is a solid starting point if you're short on time.
Boosting Your Watch Time and Retention
Good subtitles make your content sticky. They’re not just for viewers who are hard of hearing; they’re for non-native speakers, people in noisy environments, or anyone who just comprehends better while reading along. This isn't just about being inclusive—it's smart marketing that keeps people glued to your video.
The numbers don't lie. One study found that 80% of people are more likely to watch a video to the end if it has subtitles. This lines up with other data showing that subtitled videos can get a 20% jump in watch time. When you consider that people watch over a billion hours on YouTube daily, that 20% is a massive advantage. You can dig into more of these stats over on Rev.com.
Subtitles are the difference between a viewer swiping away and one who watches to the end. They turn a casual view into a loyal subscriber by making your content accessible in any environment.
More Than Just On-Screen Text
Beyond keeping viewers engaged, subtitles essentially make your video searchable. Google can read and index the text in your caption file, treating it like a mini-blog post. Suddenly, your video can start ranking for all the keywords spoken inside it, opening up a whole new way for people to find you.
It also makes it ridiculously easy to repurpose video content. A clean transcript can instantly become a blog post, a handful of social media updates, or a detailed email newsletter. You’re squeezing every last drop of value out of the hard work you already put into filming and editing.
Working with YouTube's Automatic Captions
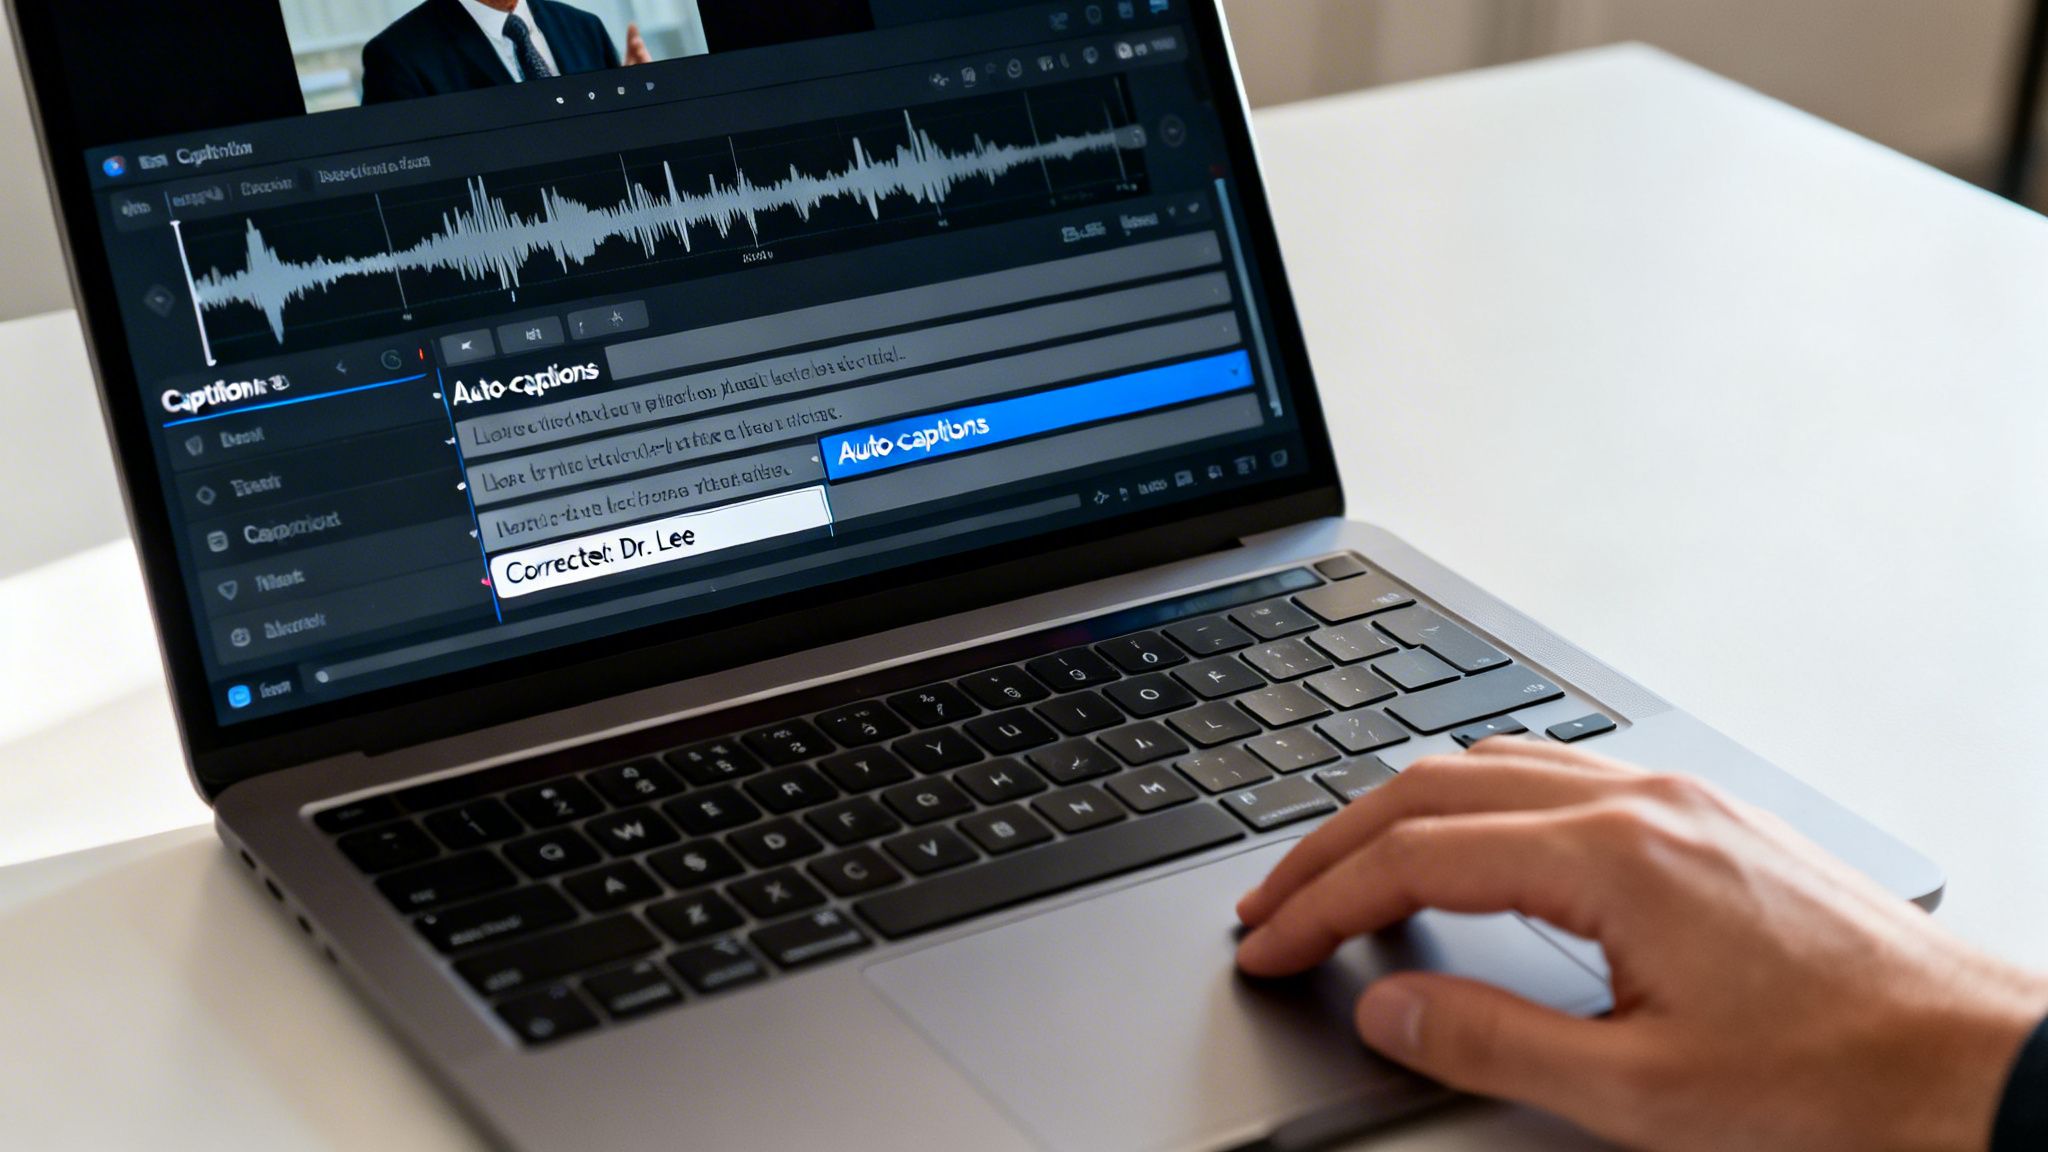
YouTube's automatic captions are a fantastic starting point. The platform uses speech recognition to generate a transcript for you, which can save a massive amount of time. But let's be clear: this tech isn't perfect, and just slapping the raw auto-captions on your video can do more harm than good.
Think of them as a rough draft. They give you the basic structure, but it’s your job to polish them into something professional. Awkward punctuation, misspelled names, and misinterpreted jargon just scream "amateur" and can confuse your viewers.
Finding and Editing Your Captions
First things first, you need to get into your channel's YouTube Studio. This is the command center for all your content.
Once you're in, head to the "Content" tab on the left. Find the video you want to work on and click it to open the "Video details" page. From there, select "Subtitles" from the left-hand menu.
You'll see a list of subtitle tracks. The one you’re looking for is labeled "English (Automatic)" or your video's language. To start editing, click "Duplicate and Edit." This creates a new, editable copy so you aren't starting from scratch.
Now you're in the editor. You can either edit the text directly in the transcript box or adjust the timing of each caption block on the video timeline below. Both are synced up, so a change in one place automatically updates the other.
Common Auto-Caption Errors to Fix
Editing isn't just about fixing typos; it's about making your captions clear and readable. As you go through the auto-generated text, keep an eye out for these classic AI slip-ups:
- Proper Nouns: The AI almost always fumbles names of people, companies, or specific products. "Dr. Lee" might become "Doctorly," or "Transcriby" might become "transcribe-y."
- Technical Terms: If your content is niche, get ready for some weird interpretations. Something like "multinomial logistic regression" will probably get butchered.
- Punctuation and Flow: AI-generated text is notorious for run-on sentences. Your job is to add the commas, periods, and line breaks that make the text easy to scan.
- Homophones: Words that sound the same but mean different things are a huge blind spot for AI. Watch out for mix-ups like "their," "there," and "they're."
Taking just 10-15 minutes to clean up your automatic captions completely changes the viewer experience. It shows you care about your content and respect your audience.
Fixing these small mistakes turns a clunky, distracting set of captions into a genuinely helpful tool for your viewers.
Once you’ve made your corrections, just hit "Publish," and your polished subtitles will replace the inaccurate automatic version. While editing directly on YouTube is a solid option, you can explore other workflows in our guide to YouTube video transcription methods.
Uploading a Perfect Subtitle File
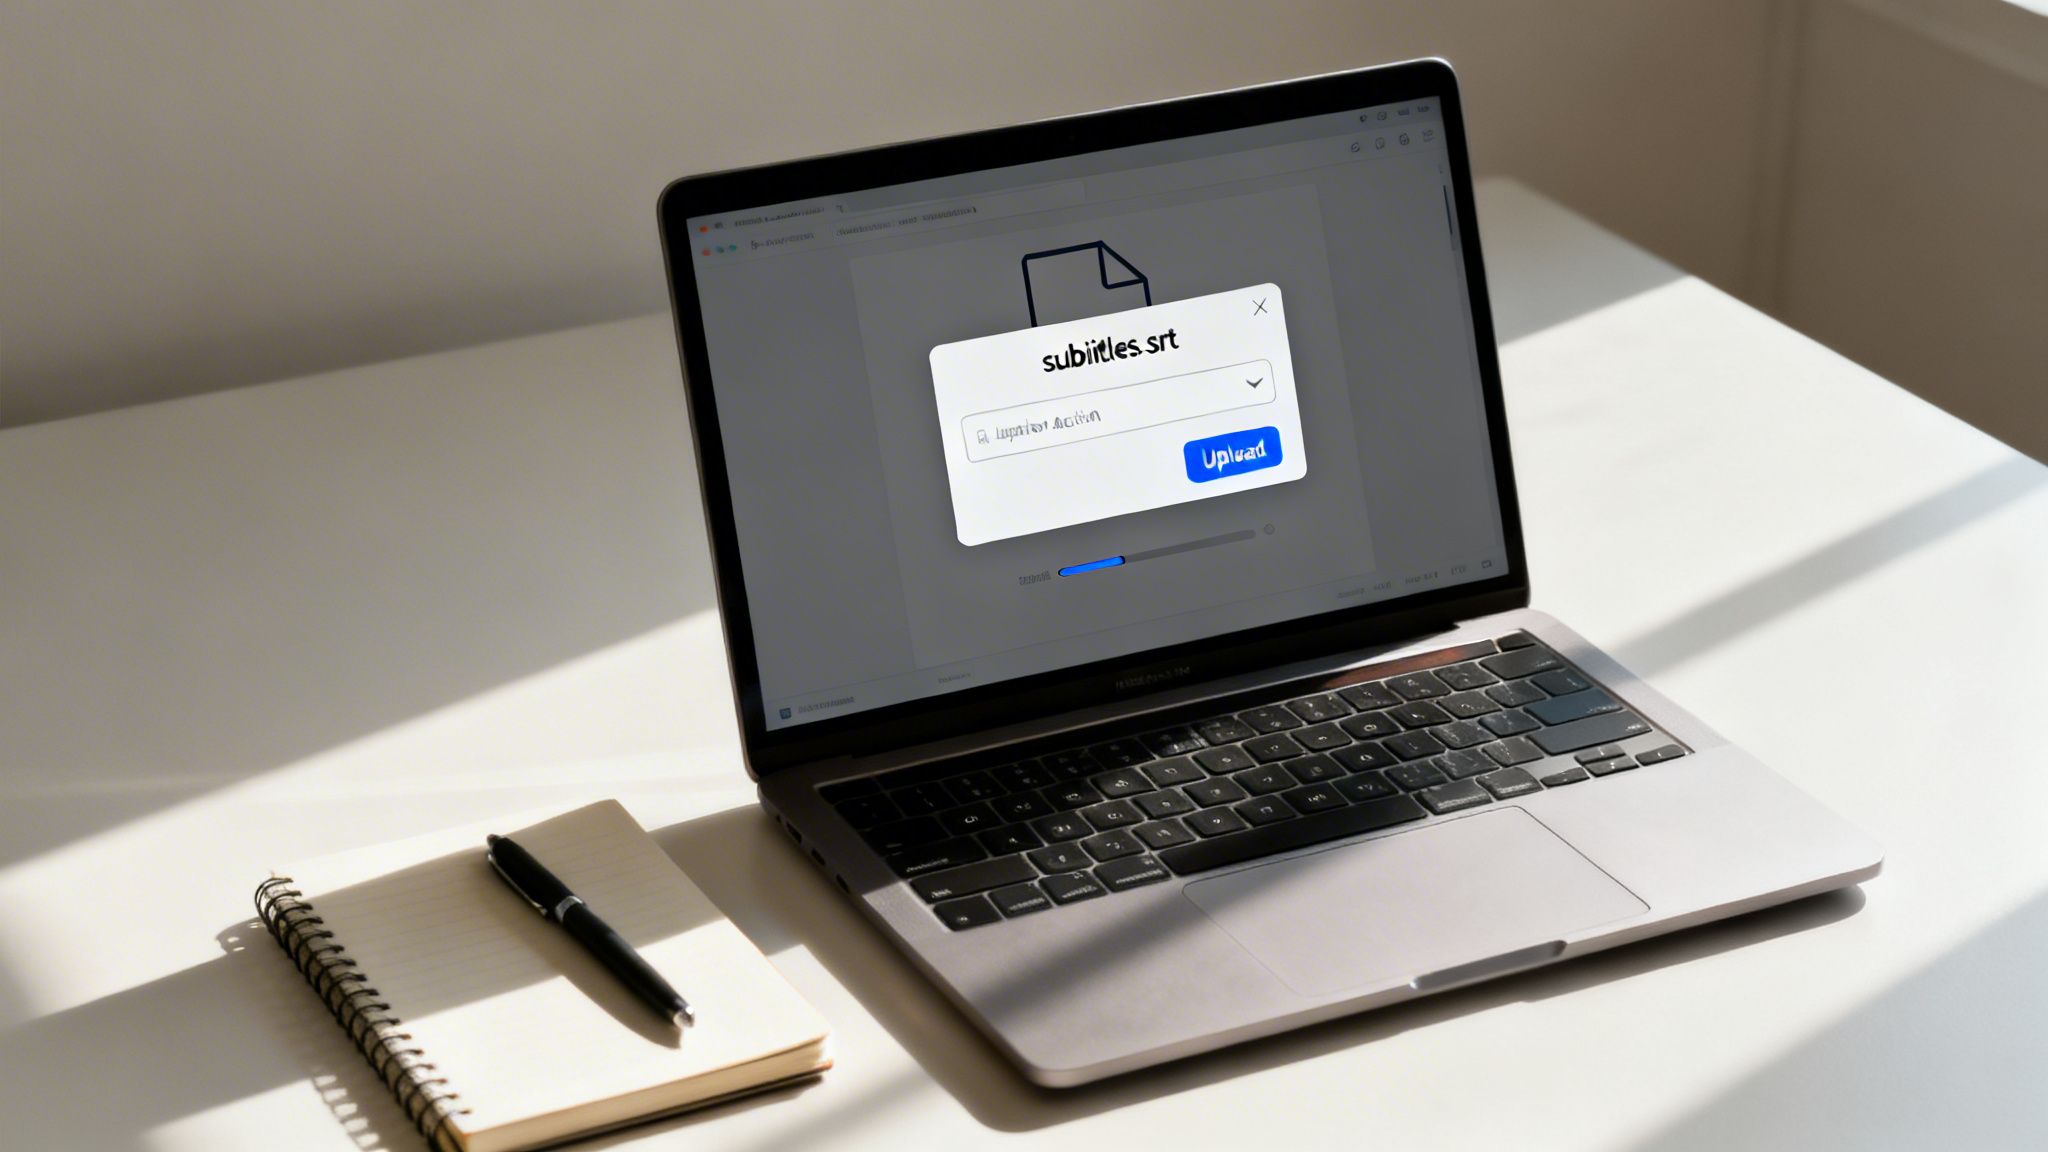
If you're a creator who refuses to compromise on accuracy, uploading your own subtitle file is the only way to go. It's the professional standard.
This method gives you total control over every single word and timestamp, making sure your video is perfectly polished and accessible. This is how you unlock the real SEO and engagement benefits that high-quality captions deliver.
The most common format you'll work with is the SubRip Subtitle file, better known as an .SRT file. Think of it as a simple text document that tells YouTube three things for each line of dialogue: the sequence number, the exact start and end time, and the text to display. It's universally supported and gives you pixel-perfect control.
So, how do you get one? You can either build one from scratch—a tedious but effective process—or use a transcription service to do the heavy lifting for you.
Creating an SRT File from Scratch
Building an SRT file by hand is straightforward, but I’ll be honest, it’s a grind. You can do it in any basic text editor, like Notepad on Windows or TextEdit on a Mac.
Each subtitle entry has to follow a very strict format:
- Sequence Number: A number starting at 1.
- Timestamp: The start and end times in
hours:minutes:seconds,milliseconds --> hours:minutes:seconds,millisecondsformat. - Subtitle Text: The words you want to appear on the screen.
- Blank Line: A single blank line separating it from the next entry.
Here’s a real-world example of what the first few lines of a file might look like:
1 00:00:02,150 --> 00:00:04,850 Hey everyone, and welcome back to the channel.
2 00:00:05,100 --> 00:00:07,500 Today, we're diving into how to add subtitles to YouTube videos.
While this method offers total control, it's incredibly slow. For a ten-minute video, you could easily spend over an hour just getting the timing right. This is exactly why automated tools are a creator's best friend.
A More Efficient Subtitle Workflow
The smarter, faster approach is to use a transcription tool. This workflow turns a painful chore into a quick, three-step process.
First, you get a highly accurate transcript. Using a tool like Transcriby, for instance, you can just paste your video URL and get a clean transcript in under a minute. It’s going to be way more accurate than YouTube's auto-captions, especially if you have technical jargon, background noise, or multiple speakers.
Next, you just export that transcript as an SRT file. The software automatically handles all the complicated time-coding for you, perfectly syncing the text to the audio. This step alone saves hours of manual work.
Finally, you upload that shiny new SRT file directly into YouTube Studio. In the "Subtitles" section for your video, just click "Add language," pick your language, and then under the "Subtitles" column, click "Add." From there, you'll select "Upload file," choose your SRT, and you're done.
Did you know that adding subtitles to your YouTube videos can boost viewership by up to 40%? With 75% of consumers preferring content in their native language, localized subtitles can unlock massive international growth. Check out these subtitle generation trends to see how they can impact your channel.
This streamlined workflow doesn't just guarantee professional-grade accuracy; it frees you up to focus on what actually matters—creating more content. It’s the perfect balance of quality and efficiency for any serious creator trying to figure out how to add subtitles to YouTube videos the right way.
The Hands-On Approach: Manually Typing and Syncing Subtitles
Automated tools are great for speed, but sometimes you need absolute, frame-by-frame control. For those moments, typing subtitles directly into YouTube Studio is the only way to go.
This is your go-to method for nailing the timing on dramatic pauses or lightning-fast comedic delivery. Think about a 30-second brand ad, a powerful monologue, or a comedy sketch where a caption showing up a split-second too early would kill the punchline. In these cases, manual control isn’t just a preference—it’s crucial to the art of the video.
A Smarter Workflow for Manual Captions
Trying to type and time your subtitles simultaneously is a recipe for frustration. It’s clunky, confusing, and you’ll spend more time hitting pause and rewind than actually writing.
There's a much better way.
First, head to your video's "Subtitles" page in YouTube Studio. Pick your language, then click the option to "Type manually." This is where we split the process into two simple phases.
Phase 1: Just Transcribe Everything
Ignore the timeline for now. Seriously, just ignore it. Play your video and focus on one thing: typing out every single word. Get the entire script into the text box on the left.
The goal here is to have a complete, proofread script to work from. No timing, no syncing—just the words.
Phase 2: Assign Timings and Refine
Once your script is complete, click the "Assign Timings" button. YouTube will do its best to automatically sync your text to the audio, which gives you a surprisingly solid starting point.
Now, you can move down to the visual timeline editor. This is where the real magic happens. Just drag the edges of each caption block to fine-tune the start and end points with military precision. You can make sure every single line appears and disappears exactly when you want it to.
This two-phase approach turns a chaotic juggling act into a manageable, step-by-step process.
So, When Should You Bother With This?
Let's be honest, this is the most time-consuming option. It’s not practical for a 45-minute podcast episode. But it's absolutely the right call when artistic control and perfect accuracy are your top priorities. It's the best choice for any content where the subtitles are a core part of the creative execution itself.
By manually adding subtitles, you're not just transcribing; you're directing the viewer's reading experience. This level of control allows you to enhance emotional impact, land jokes perfectly, and ensure every word appears exactly when it's meant to.
For creators just learning the ropes, going through this process at least once is invaluable. It gives you a deep understanding of how timing and text work together—a skill that will make all your future videos feel more polished and professional.
When you’re happy with the result, just hit "Publish" to make your perfectly synced captions live.
Crafting Subtitles That Actually Engage Viewers
Knowing the technical steps to upload a subtitle file is just the beginning. The real skill is crafting captions that actually make your video better.
Great subtitles are invisible; they feel like a natural part of the video. Bad ones are a glaring distraction that pulls viewers out of the experience. The goal is to move beyond a simple word-for-word transcript and start thinking about how someone actually reads and watches at the same time.
Keep Your Lines Short and Sweet
This is the biggest mistake I see creators make: cramming huge paragraphs of text onto the screen. Nobody can read a wall of text and pay attention to your video. It's just too much cognitive load, and most people will simply give up and stop reading.
The rule of thumb is to stick to one or two lines at a time. Industry standards suggest keeping each line under 42 characters. This keeps the text scannable and ensures it doesn't cover up important parts of your video.
Instead of one long, unbroken sentence, find natural pauses to break up your lines.
- Don't do this: "Today we're going to be talking about the best way to add subtitles to your YouTube videos, which is an incredibly important step for accessibility and SEO."
- Do this:
- "Today we're going to be talking about the best way to add subtitles..."
- "...which is an important step for accessibility and SEO."
That small change makes a massive difference in readability.
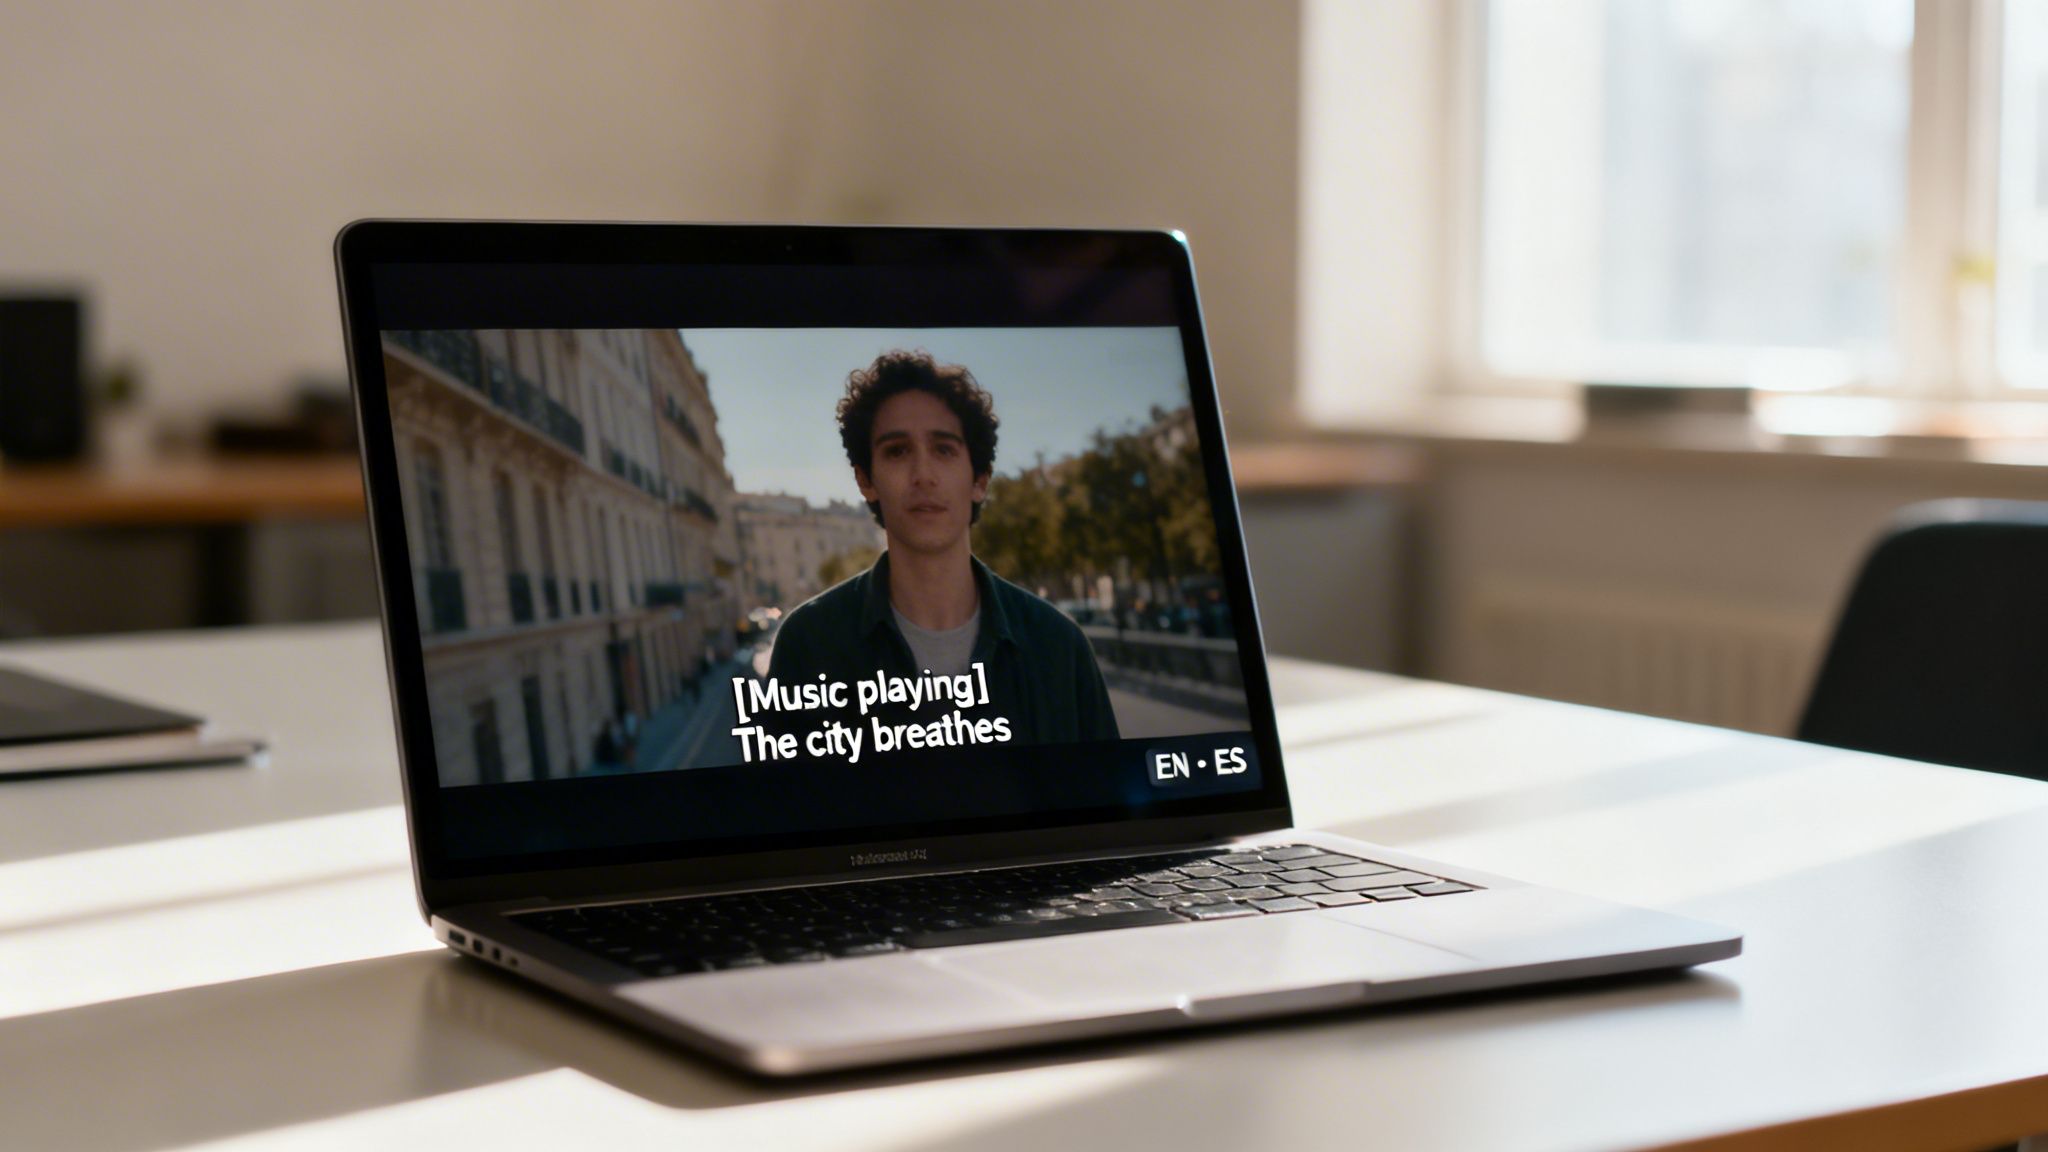
Add Context with Non-Verbal Cues
Your subtitles shouldn't just cover what's being said. They also need to capture important sounds that add context, especially for viewers who are deaf or hard of hearing.
These are called non-verbal cues, and they're usually placed in brackets.
Think about what someone would miss if they couldn't hear. Is a phone ringing that's crucial to the story? Does the music suddenly become tense?
Use these sparingly but effectively. Things like [Music playing], [Laughter], [Doorbell rings], or [Dog barking] help paint the full picture. It ensures every single viewer gets the experience you intended.
This isn't just about accessibility—it's about engagement. Polished, thoughtful subtitles signal quality to the YouTube algorithm. Videos with good captions can see 20% more watch time, a huge advantage when you're competing with a billion hours of video watched daily.
The Untapped Power of Translation
Once you have one high-quality subtitle file in your video's main language, you've done the hardest part. The next step is a massive growth hack: translation.
YouTube lets you upload multiple subtitle tracks for a single video. This is your ticket to a global audience. It's not just about reaching more people—it's about connecting with them in their native language, which is how you build a real community.
When you're ready to expand, you can apply these same principles to create powerful viral video scripts for a wider audience. By focusing on these details, subtitles stop being an afterthought and become one of your most powerful tools for growth.
Here are a few questions that always seem to come up once creators start getting serious about subtitles. Let's get them answered so you can move forward with confidence.
What’s the Best File Format for YouTube Subtitles?
Hands down, the winner is the SubRip Subtitle file, or .SRT.
It's just a simple text file that contains your captions, broken down into numbered chunks with precise start and end times. Its universal compatibility and dead-simple structure have made it the go-to standard for pretty much everyone.
While YouTube plays nice with other formats like .VTT (WebVTT), you can’t go wrong with an SRT. It gives you all the control you need without any unnecessary complexity.
Will Bad Subtitles Actually Hurt My Video?
Oh, absolutely. Having any subtitles is usually better than none, but a file full of errors is a huge distraction. When captions are out of sync or just plain wrong, it creates a jarring experience that can make people click away.
This is a direct hit to the metrics that matter most to YouTube:
- Watch time: Confused and annoyed viewers don't stick around.
- Audience retention: A high drop-off rate is a major red flag for the YouTube algorithm, signaling that your content isn't holding attention.
That’s why you have to either meticulously edit YouTube's auto-captions or just use a super-accurate transcription tool from the start. Your subtitles are a reflection of your channel's quality.
Bad subtitles aren't just a typo; they're a leak in your audience retention bucket. A few minutes of quality control protects your watch time and tells viewers (and the algorithm) that you care about their experience.
Can I Add Subtitles in Different Languages?
Yes, and if you have any ambition of growing your audience, you should. YouTube makes it easy to add multiple subtitle tracks to a single video. You just upload a separate SRT file for each language.
This is one of the single most powerful ways to expand your reach internationally. When people can watch your content in their native language, it breaks down barriers and can unlock massive new audiences you couldn't otherwise reach.
Do Subtitles on YouTube Shorts Really Matter?
They matter more than almost anything else. Think about it: a huge chunk of Shorts are watched on a phone with the sound off. Without captions, your video is just silent motion. Your message is completely lost.
On Shorts, subtitles are your hook. They have to grab attention and deliver your story in the first few seconds before someone swipes away. Clear, bold captions are non-negotiable for making an impact in a sound-off environment.
Ready to create perfectly accurate transcripts and SRT files in seconds? Transcriby uses AI to pull clean, time-stamped text from any YouTube Short, TikTok, or Instagram video, making your captioning workflow faster than ever. Get your free trial and start creating better content today at https://www.transcriby.io.